
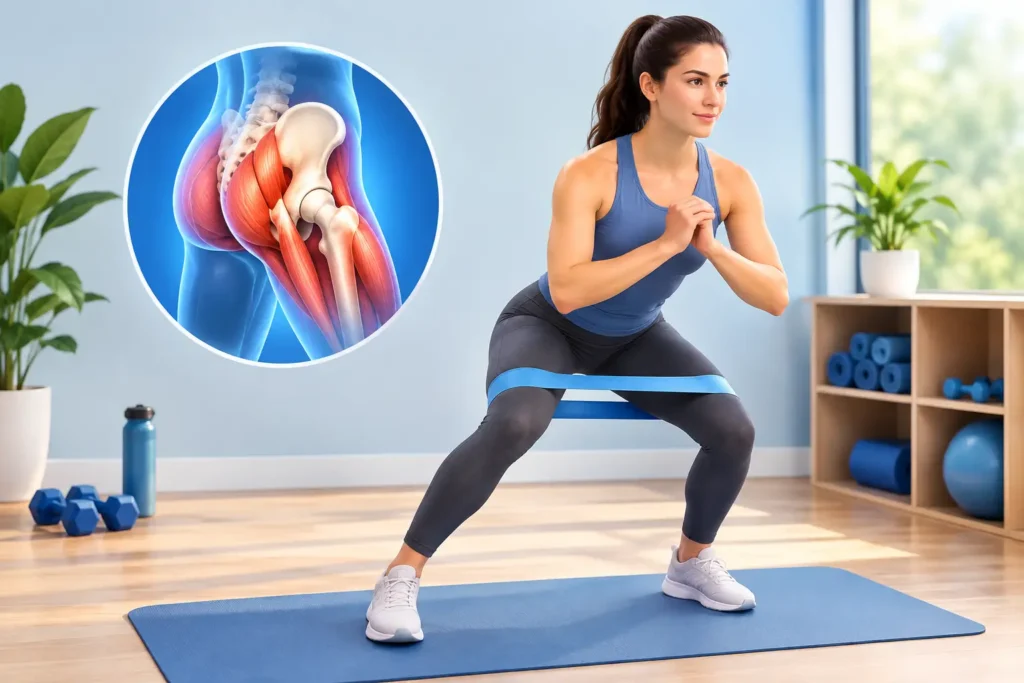
The first sign of weak hips is not always hip pain. It may be a knee that drops inwards on stairs, a lower back that tightens after a long commute, or needing to push hard through your hands to rise from a chair. Learning how to strengthen weak hips can improve control, balance and confidence in everyday movement – but the right starting point depends on why the muscles have become underactive or painful.
Your hips are built to manage considerable load. The gluteal muscles, deep hip rotators and muscles around the pelvis help keep your leg aligned as you walk, climb, run and change direction. When they are not doing their share of the work, the lower back, knees and feet often compensate. A clear, progressive rehabilitation plan can restore strength without simply pushing through pain.
Why hips become weak
Hip weakness commonly develops after a period of reduced activity, injury, surgery or persistent pain. Long periods of sitting can also leave the hip muscles less prepared for walking, stairs and exercise, even in people who are otherwise active.
It can also be a consequence rather than the original problem. Hip osteoarthritis, tendon pain on the outside of the hip, lower back pain, a knee injury or ankle instability can all alter how you move. You may unconsciously avoid loading one side, which gradually reduces strength and control.
For runners and field-sport athletes, rapid increases in training volume are a frequent trigger. For older adults, reduced balance confidence and less time spent on weight-bearing activity can have a similar effect. The best treatment plan therefore needs to consider your symptoms, movement habits, goals and medical history rather than prescribing the same exercise sheet to everyone.
How to strengthen weak hips safely
Start by choosing exercises you can perform with good control. You should feel the muscles around the buttock and side of the hip working, rather than sharp pain deep in the groin, catching, or a significant increase in symptoms afterwards. Mild muscular effort is expected. Pain that builds during exercise, causes limping, or remains worse into the next day suggests the exercise, range or volume needs adjusting.
Aim for two or three strengthening sessions each week, with at least a day between harder sessions. Initially, quality matters more than resistance. Slow, controlled repetitions help rebuild coordination before you add heavier bands, weights or more demanding single-leg work.
Begin with a bridge
Lie on your back with your knees bent and feet hip-width apart. Gently tighten your abdominal muscles, press through both heels and lift your hips until your body forms a straight line from shoulders to knees. Pause for two to three seconds, then lower with control.
Try two sets of eight to 12 repetitions. Keep the movement comfortable and avoid arching through the lower back. If one hamstring cramps, bring your feet slightly closer to your body or reduce the lift height. Once this feels easy, progress by holding the top position for longer or adding a light weight across the pelvis.
Build side-hip strength
The gluteus medius, on the outer side of the hip, is particularly important for keeping the pelvis level when standing on one leg. Lie on your side with your lower knee bent and top leg straight. Keep the top foot in line with your body and lift the leg slightly upwards without rolling your pelvis backwards.
Two sets of eight to 15 controlled lifts is a useful starting point. The movement should be small and precise. Lifting the leg very high often recruits the lower back instead of the target muscles. A resistance band around the thighs can be added when you can complete the exercise without twisting.
Practise sit-to-stands
Sit towards the front of a firm chair with both feet flat on the floor. Lean your chest slightly forwards, push through your feet and stand without using your hands if possible. Sit down slowly, keeping your knees pointing in the same direction as your toes.
This is a practical way to strengthen the hips, thighs and trunk for daily life. Begin with two sets of six to 10 repetitions. A higher chair makes the task easier; a lower chair or a slow lowering phase makes it harder. If your knees collapse inwards, reduce the depth and focus on maintaining your alignment before increasing repetitions.
Progress to step-ups and controlled step-downs
When sit-to-stands are comfortable, use a low step. Step up with one leg, bring the other foot up, then step down carefully. Keep the pelvis level and avoid letting the working knee drift inwards. Start with six to eight repetitions on each side.
Step-downs are more demanding and can be particularly useful for stair confidence, running preparation and knee control. Stand on a low step and slowly lower the opposite heel towards the floor, then return to standing. Use a wall or rail for balance. The goal is steady control, not depth.
Add single-leg balance
Hip strength and balance work together. Stand near a worktop or wall, shift your weight onto one leg and hold for 20 to 30 seconds. Keep your pelvis level and allow your fingertips to hover close to support if needed.
As control improves, try turning your head slowly, reaching one arm forwards, or standing on a slightly less stable surface. Do not make balance exercises unnecessarily difficult if you have had a fall, feel dizzy or have significant pain. In those situations, professional assessment is the safer route.
Progress without aggravating pain
A useful rule is to change one variable at a time. You might add two repetitions, a third set, a stronger resistance band or a little more range of movement, but not all four in the same week. This gives the tissues time to adapt and makes it easier to identify what has irritated symptoms if pain returns.
Walking, swimming, hydrotherapy, Pilates and cycling can complement strengthening, depending on your diagnosis and tolerance. They are not interchangeable, however. Cycling may feel comfortable for someone with impact-related pain but still fail to address poor single-leg control. Swimming can maintain fitness while an irritated tendon settles, but progressive loading is usually still needed to build capacity.
Recovery also matters. A muscle that is sore for a day or two after a new exercise programme is not necessarily injured. Persistent night pain, worsening limp, swelling, marked loss of movement or pain that prevents normal weight-bearing should not be managed by simply adding more exercises.
When weak hips need specialist assessment
Hip pain can come from the joint itself, tendons around the hip, the lower back, the sacroiliac region or, occasionally, structures elsewhere. This is why self-treatment can stall when symptoms are persistent or unclear. Pain in the groin, clicking or catching, pain lying on one side, pain spreading below the knee, or symptoms following a fall all warrant a careful assessment.
At FAB Clinic, our specialist clinicians can assess how your hips, pelvis, lower back and knees are working together. Where appropriate, diagnostic ultrasound can provide fast, accurate insight into tendon and soft-tissue problems, helping guide a focused rehabilitation programme and further treatment options. The aim is not just short-term pain relief, but a plan that restores confidence in walking, work, exercise and the activities you value.
Seek urgent medical advice after a significant injury, if you cannot bear weight, have fever or feel unwell alongside hip pain, notice a hot swollen joint, or develop new numbness, weakness or changes to bladder or bowel control.
Make hip strength part of normal movement
The most effective programme is one you can repeat consistently. Put two short sessions in your week, use sit-to-stands when getting up from your desk, and choose walks that challenge you without causing a flare-up. Small, well-controlled doses of loading build stronger hips far more reliably than an occasional hard session.
If progress has plateaued or hip pain is making you avoid movement, an individual assessment can replace guesswork with a clear route back to stronger, more comfortable movement.